Table of Contents
This chapter describes how to install and uninstall WebtoB in a Windows system and how to register and delete a service. The installation and uninstallation process are GUI based.
This section describes how to install WebtoB and verify the installation.
The following describes how to install WebtoB on a Windows system.
-
The compilation environment of a Windows platform has been changed to VC90 so that "C runtime" and "C++ Run-Time and Standard C++ Library" (msvcm90.dll, msvcp90.dll, msvcr90.dll) are necessary to operate the system.
When Microsoft.NET Framework 3.5 SP1 or higher is installed, Redistributable Package does not need to be installed. The following are URLs where Redistributable Packages can be download for each operating system.
-
Windows x86 (32bit)
http://www.microsoft.com/downloads/ko-kr/details.aspx?FamilyID=9B2DA534-3E03-4391-8A4D-074B9F2BC1BF
-
Windows x64 (64bit)
http://www.microsoft.com/downloads/ko-kr/details.aspx?FamilyID=bd2a6171-e2d6-4230-b809-9a8d7548c1b6
-
-
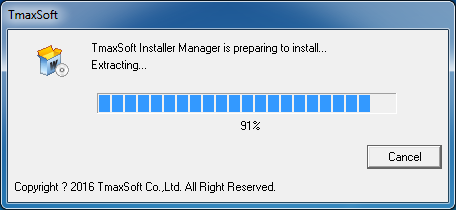
Execute WEBTOB5_0_SP0_Fix2_Windows_x64.exe. If the installation starts, the following window appears.
-
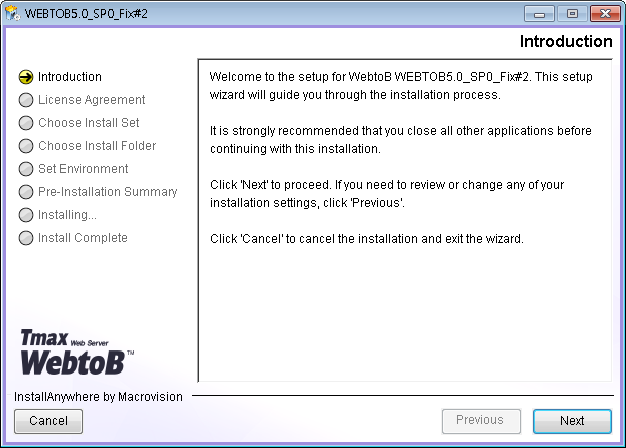
The introduction page shows the requirements needed to install WebtoB using the Installer. Click the [Next] button to continue, the [Previous] button to return to the previous step, or the [Cancel] button to cancel the installation.
-
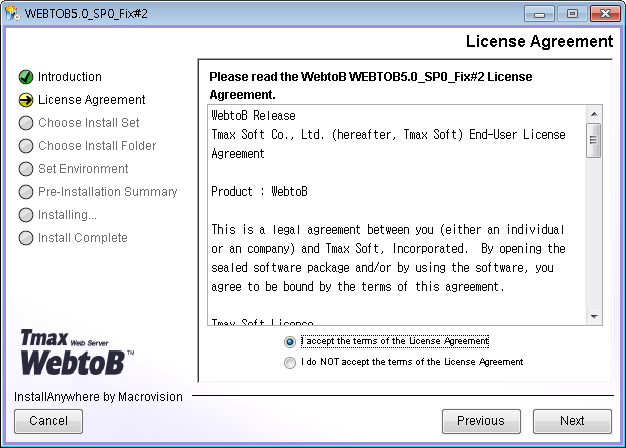
The WebtoB License Agreement page appears. Select ‘I accept the terms of the License Agreement’ to accept the license information and click the [Next] button to continue. If the license information is not accepted, installation cannot continue.
-
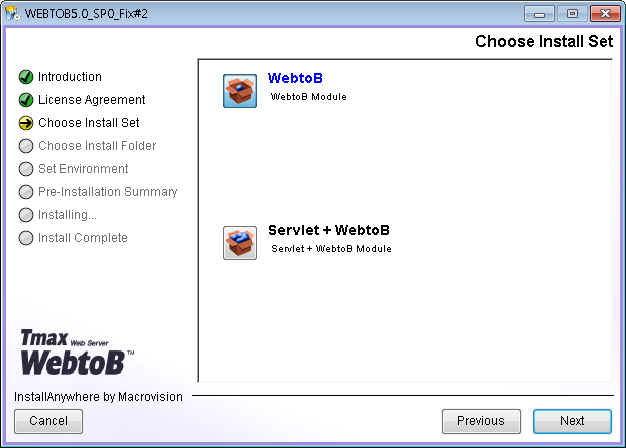
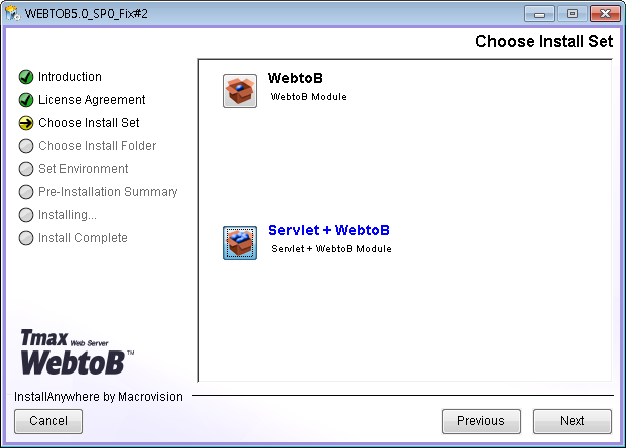
Select the Installation Set. Select [Servlet + WebtoB] to install WebtoB with Servlet Engine (WebtoB Enterprise Edition) together. Servlet Engine features can be used with the demo license with no limitations. However, the Enterprise license is required for the full purchase license.
Select [WebtoB] to install WebtoB only. This section describes how to install WebtoB only. To install both WebtoB and Servlet Engine together, refer to "4.2. Servlet Engine Installation".
-
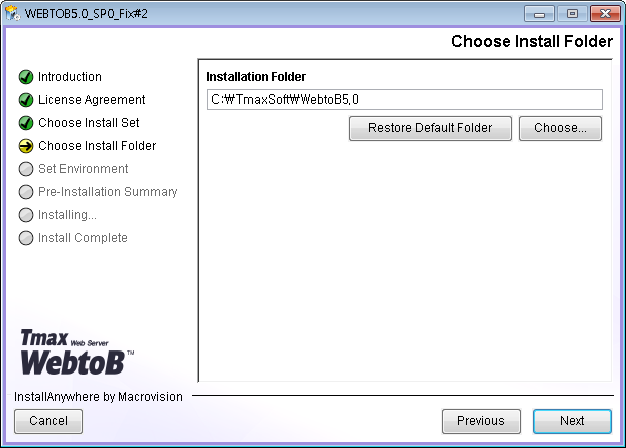
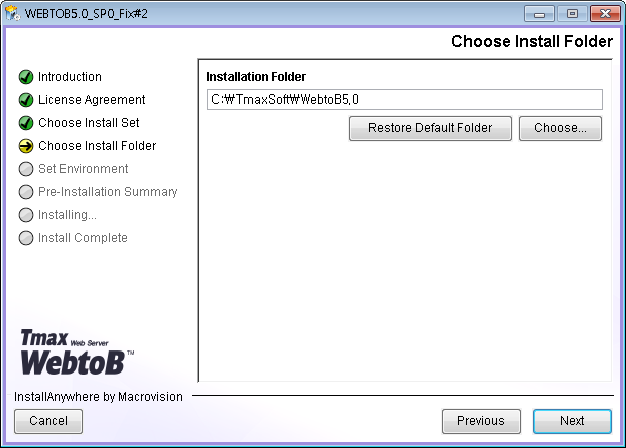
Set the WebtoB installation directory. To use the default directory, click the [Next] button. To change the directory, click the [Choose] button, select desired path, and then click the [Next] button.
-
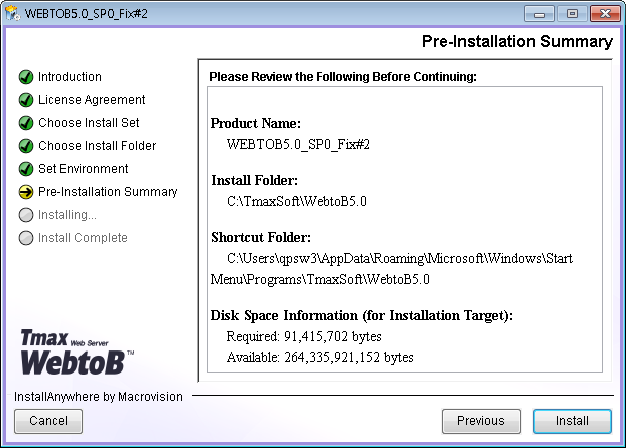
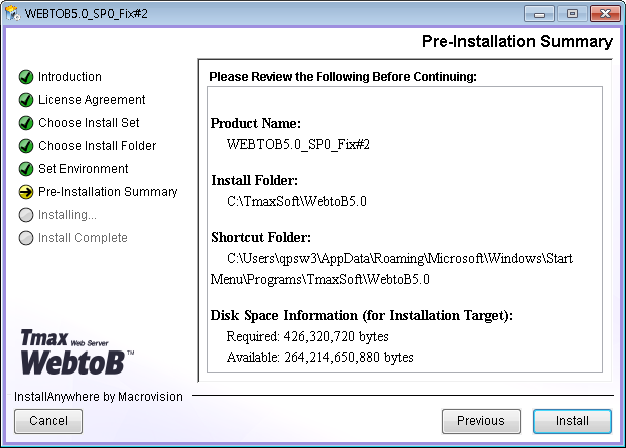
Before installing WebtoB files, check the installation information (product, installation path, Installation Set, and disk space). Click the [Next] button to continue, the [Previous] button to return to the previous window, or the [Cancel] button to cancel the installation.
-
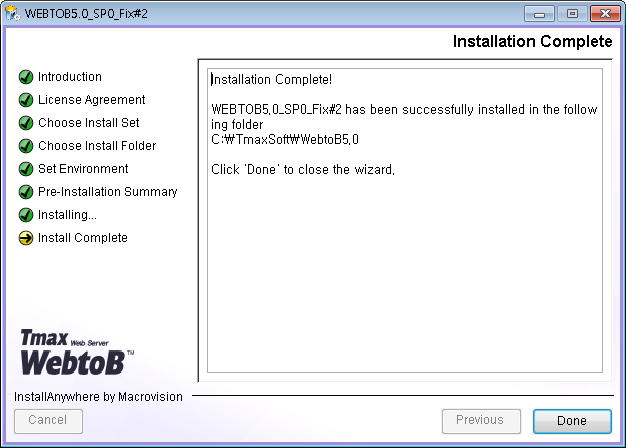
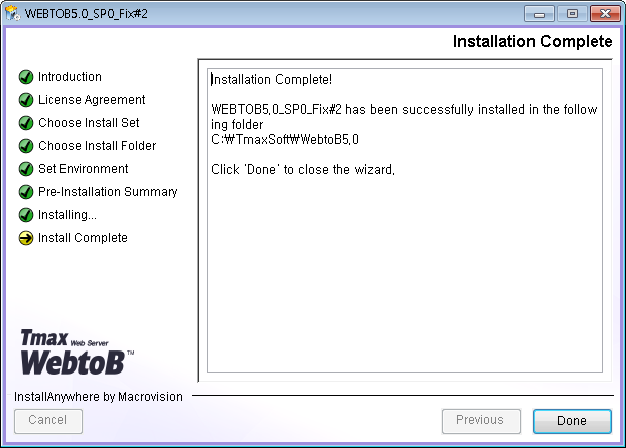
If WebtoB files are installed and the required installation tasks are complete, an installation complete message appears. Click the [Done] button to exit the installer.
To install WebtoB in silent mode, configure webtob.properties, a properties file for the installation, in advance. When installing WebtoB in silent mode, the installer reads and uses the file without receiving environment variables from a user.
-
Create webtob.properties as follows. For information about each item, refer to "Appendix A. Silent Installation Properties File".
<webtob.properties>
INSTALLER_UI=Silent
CHOSEN_INSTALL_SET=WebtoB
USER_INSTALL_DIR=C:\\TmaxSoft\\WebtoB5.0
-
Execute the installer in silent mode from a console window.
C:\TmaxSoft>WEBTOB5_0_SP0_Fix2_Windows_x64.exe -f webtob.properties
-
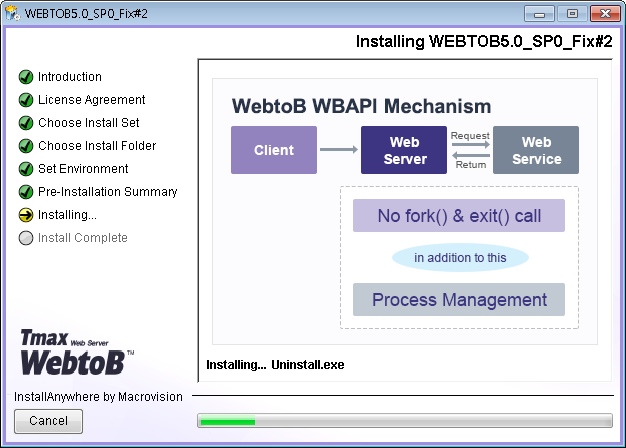
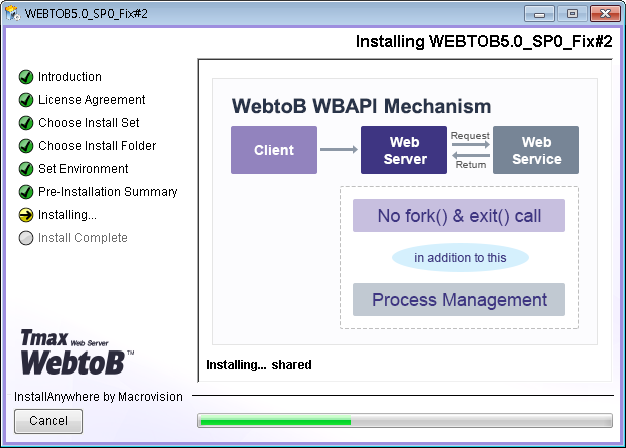
When the installation starts, the following page appears.
The following describes how to verify the WebtoB installation.
Directory
Ensure that the following directories are created in the specified path ($WEBTOBEDIR in UNIX or WebtoB 5.0 in Windows) and files are installed in the directories.
$WEBTOBEDIR
     |----ap
     |----bin
     |----cgi-bin
     |----config
     |----docs
     |----icons
     |----lib
     +----license
     |----log
     |----path
     |----ssl
     |----svct
     +----UninstallerData
     |----usrinc
The following list is a description for each directory.
- ap
-
Application files directory.
- bin
-
Executable files (wsm, wscfl, wsuncfl wsracd, wsgst, wsboot, wsdown, etc.) directory.
- cgi-bin
-
CGI files directory.
- config
-
WebtoB environment files directory.
- docs
-
Default HTML files directory.
- icons
-
Icons used in DIRINDEX directory.
- lib
-
Library files directory.
- license
-
License files directory.
- log
-
Log files directory.
- path
-
Named-pipe for internal communication among processes directory.
- ssl
-
SSL related files directory.
- svct
-
WBAPI service tables.
- UninstallerData
-
Uninstallation files directory.
- usrinc
-
API header files directory.
Environment Variable
Ensure that the environment variables are registered as the following.
WEBTOBDIR=C:\TmaxSoft\WebtoB5.0
PATH=%WEBTOBDIR%\bin;%WEBTOBDIR%\lib;
Servlet Engine is a feature provided by WebtoB Enterprise.
The following is the installation process for WebtoB and Servlet Engine.
-
To install WebtoB with Servlet Engine together, select [Servlet + WebtoB] in the Installation Set. To install WebtoB only, refer to "4.1. WebtoB Installation".
-
Set the WebtoB installation directory. To use the default directory, click the [Next] button. To change the directory, enter in an absolute path or click the [Choose] button, select desired path, and then click the [Next] button.
-
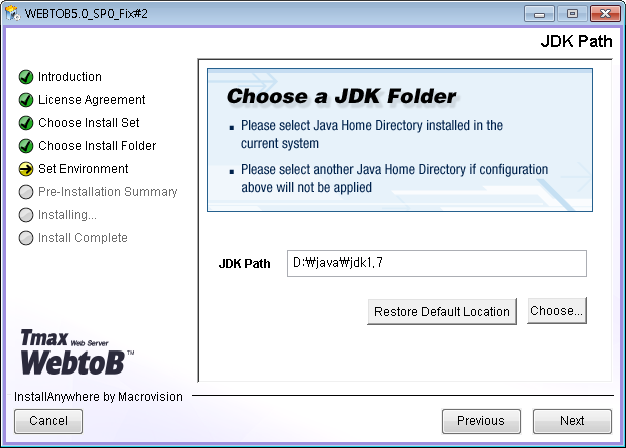
Set the JDK path used in Servlet Engine. To use the default path, click on the [Next] button. To change the directory, enter in an absolute path or click the [Choose] button, select desired path, and then click the [Next] button.
-
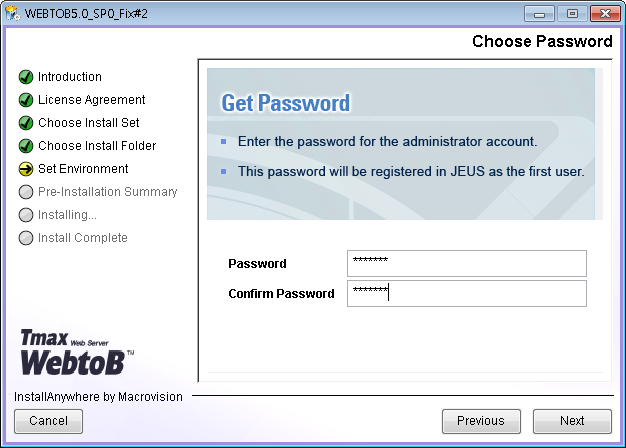
Set the Servlet Engine administrator account password. Enter the password, and re-enter it to confirm.
-
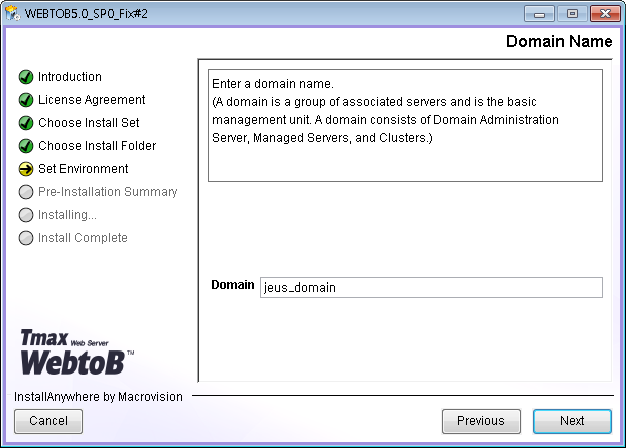
Set the domain name, and then click the [Next] button.
-
Before installing WebtoB files, check the installation information (product, installation path, Installation Set, and disk space). Click the [Next] button to continue, the [Previous] button to return to the previous window, or the [Cancel] button to cancel the installation.
-
If WebtoB files are installed and the required installation tasks are complete, an installation complete message appears. Click the [Done] button to exit the installer.
To install WebtoB in silent mode, configure webtob.properties, a properties file for the installation, in advance. When installing WebtoB in silent mode, the installer reads and uses the file without receiving environment variables from a user.
-
Create webtob.properties as follows. For information about each item, refer to "Appendix A. Silent Installation Properties File".
<webtob.properties>
INSTALLER_UI=Silent
CHOSEN_INSTALL_SET=Servlet
USER_INSTALL_DIR=C:\\TmaxSoft\\WebtoB5.0
MS_PARENT_DIR=C:\\Program Files\\Java\\jdk1.7.0_79
USER_INPUT_PASSWD=1111111
INPUT_DOMAIN_NAME_1=jeus_domain
-
Execute the installer in silent mode from a console window.
C:\TmaxSoft>WEBTOB5_0_SP0_Fix2_Windows_x64.exe -f webtob.properties
-
When the installation starts, the following window appears.
The following describes how to verify the WebtoB and Servlet Engine installation.
Directory
Ensure that the following directories are created in the specified path ($WEBTOBEDIR in UNIX or WebtoB 5.0 in Windows) and files are installed in the directories.
$WEBTOBDIR
     |----ap
     |----bin
     |----cgi-bin
     |----config
     |----docs
     +----jeus
     |----bin
     |----domains
     |----lib
     |----nodemanager
     |----setup
     +----license
     |----log
     |----path
     |----ssl
     |----svct
     +----UninstallerData
     |----usrinc
Descriptions for each are as follows:
- jeus
-
Created when both WebtoB and Servlet Engine are installed together. JEUS Servlet Engine directory.
Note
For information on other directories, refer to Section 3.1.3, “Directory”.
Environment Variable
Ensure that environment variables are registered using the [Start] > [Settings] > [Control Panel] > [System] > [Advanced] menu in Windows.
(User Environment Variables)
WEBTOBDIR=C:\TmaxSoft\WebtoB5.0
PATH=%WEBTOBDIR%\bin;%WEBTOBDIR%\lib;%W2B_JEUSHOME%\bin;%W2B_JEUSHOME%\lib\system;
W2B_JEUSHOME=C:\TmaxSoft\WebtoB5.0\jeus
WebtoB is designed to work as a Windows service on a Windows system. To use this feature, run the service in the WebtoB directory and then register the service to work as a Windows NT service.
The following describes how to register a WebtoB service on a Windows system.
-
Move to the bin directory of %WEBTOBDIR% where the webtob_service.exe file is located.
(default path: C:\TmaxSoft\WebtoB5.0\bin)
-
Run webtob_service.exe -create to register WebtoB as a service on the Windows system like the following.
C:\TmaxSoft\WebtoB5.0\bin>webtob_service.exe -create WebtoB path="C:\TmaxSoft\WebtoB5.0" Service command="C:\TmaxSoft\WebtoB5.0\bin\service_loader.exe" Service log="C:\TmaxSoft\WebtoB5.0\log\service-WebtoB.log" wsboot command="wsboot -N WebtoB" wsdown command="wsdown -z -N WebtoB" Trying to create service WebtoB... Successfully installed service WebtoB -
Ensure that the WebtoB service is registered with the [Start] > [Settings] > [Control Panel] > [Administrative Tools] > [Services] menu in Windows.
-
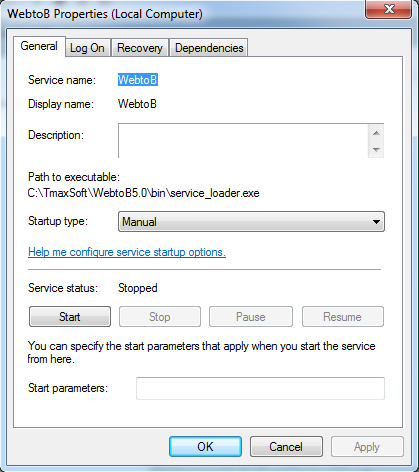
Double click a service name on the Windows Services page to display the WebtoB Properties window. If the service is operating, the [Stop], [Pause], and [Resume] buttons are activated. If the service is stopped, only the [Start] button is activated. To start a service, click the [Start] button.
The active state of the buttons shows that the Engines registered in the installation files and services are loaded. To stop a service, click the [Stop] button.
Note
If the system WebtoB was installed onto has not rebooted, a "WEBTOBDIR is not set" error may occur due to the environment variables being not yet applied. To run WebtoB with the LocalSystem privilege, reboot the system.
The following describes how to delete a WebtoB service.
-
A service must be stopped before it can be deleted.
Double click a service name to be stopped in the [Start] > [Settings] > [Control Panel] > [Administrative Tools] > [Services] menu in Windows. Click the [Stop] button in Service Status on the Service Properties page to stop WebtoB.
-
If the service stops, run webtob_service.exe -delete in the bin directory of %WEBTOBDIR% to permanently delete the service.
C:\TmaxSoft\WebtoB5.0\bin>webtob_service.exe -delete
Trying to remove service WebtoB...
Successfully deleted service WebtoB.
The following describes how to uninstall WebtoB in Windows systems.
-
To uninstall WebtoB, click the [Start] > [TmaxSoft] > [WebtoB 5.0] > [Uninstall] menu in Windows.
-
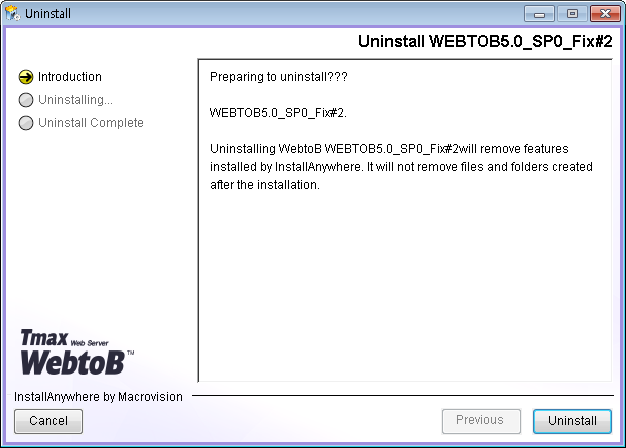
The following introduction page appears.
-
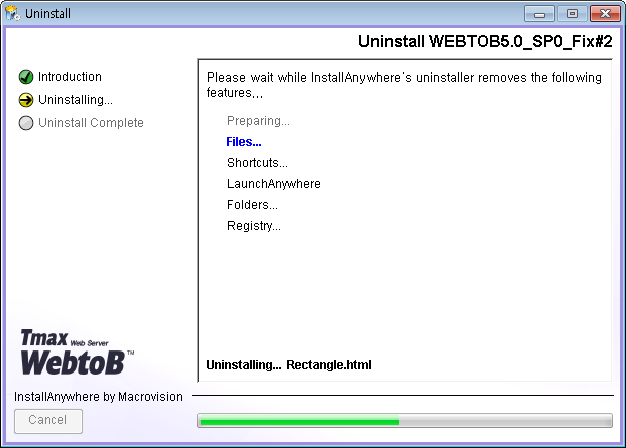
Click the [Uninstall] button to delete files and environment variables. The following is displayed while files and variables are being deleted.
-
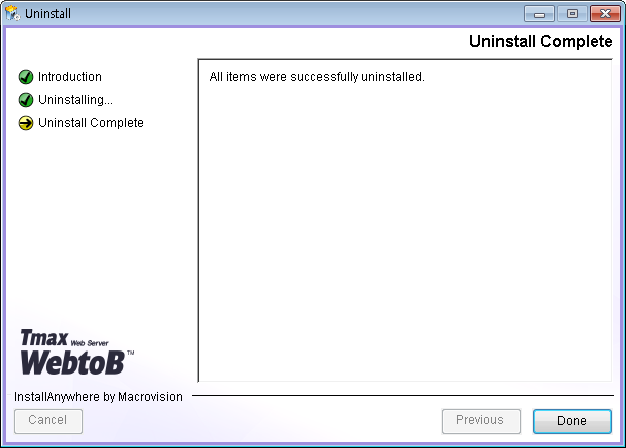
Check the message indicating that the WebtoB uninstallation successfully completed. Click the [Done] button to quit the uninstallation.
Check the following when the uninstallation of WebtoB is complete.
-
Files
Check that the installation files have been completely removed. Files that were created after the installation must be manually deleted.
-
Environment Variables
Check that the environment variables and paths added to the PATH variable have been completed removed.
