Table of Contents
This chapter introduces WebAdmin and how to start and use the user interface.
WebAdmin is a browser-based user interface for managing WebtoB. It provides similar functionalities as the console management program, wsadmin.
WebAdmin is only supported in Linux and Windows. WebAdmin can be installed and used on a server separate from WebtoB.
The following describes how to install WebAdmin in Linux.
-
Download the WebtoB WebAdmin file from the TmaxSoft TechNet (http://technet.tmaxsoft.com/ko/front/main/main.do) site.
-
Extract the file and execute the webtob-webadmin file under the bin folder.
$qpsp1@webtob:/home/webtob/webtob_webadmin/webtob-webadmin-5.0.0.1-b6/bin>./webtob-webadmin
Play server process ID is 349
[info] play - Application started (Prod)
[info] play - Listening for HTTP on /0:0:0:0:0:0:0:0:9000
-
Do the following to set a port other than the default port (9000) as the listener port for WebtoB-webadmin.
Run webtob-webadmin with the -Dhttp.port option to specify the desired port number as follows:
$qpsx1@suna:/home/suna/Webadmin/webtob-webadmin-5.0.0.1-b6/bin>./webtob-webadmin -Dhttp.port=9001
Play server process ID is 11228
[info] play - Application started (Prod)
[info] play - Listening for HTTP on /0:0:0:0:0:0:0:0:9001
The following describes how to install WebAdmin in Windows.
-
Download the WebtoB WebAdmin file from the TmaxSoft TechNet (http://technet.tmaxsoft.com/ko/front/main/main.do) site.
-
Extract the file and execute the webtob-webadmin (.bat) file under the bin folder.
-
To use a port other than the default port (9000) as the listener port for WebtoB-webadmin, open the webtob-webadmin (.bat) file by using a text editor, and change -DHttp.port to a desired port. Then, save and execute.
set "APP_CLASSPATH=%APP_LIB_DIR%\com.tmaxsoft.webtob-webadmin-5.0.0.1-b6.jar;......

set "APP_MAIN_CLASS=-Dhttp.port=9001 play.core.server.NettyServer"

rem Call the application and pass all arguments unchanged.
"%_JAVACMD%" %_JAVA_OPTS% %WEBTOB_WEBADMIN_OPTS% -cp "%APP_CLASSPATH%" %APP_MAIN_CLASS% %*
Before starting WebAdmin, you need to first run the WebtoB wsracd command.
For more information, refer to WebtoB. "6.3.4. wsracd".
-
When you need to use user ID and password (need to change wsracd privileges)
-
Grant wsracd root privileges.
-
Grant 'sticky bit' to wsracd (check the result).
-
Run wsracd.
Note
Since wsracd is executed with root privileges, WEBTOBDIR and library settings are required for the root.
-
-
When you don't need to use the user ID and password (no need to change wsracd privileges)
-
Run wsracd -a (anonymous mode).
-
The following describes how to start WebAdmin.
-
Enter the following in the web browser address bar.
http://<IP address>:9000 -
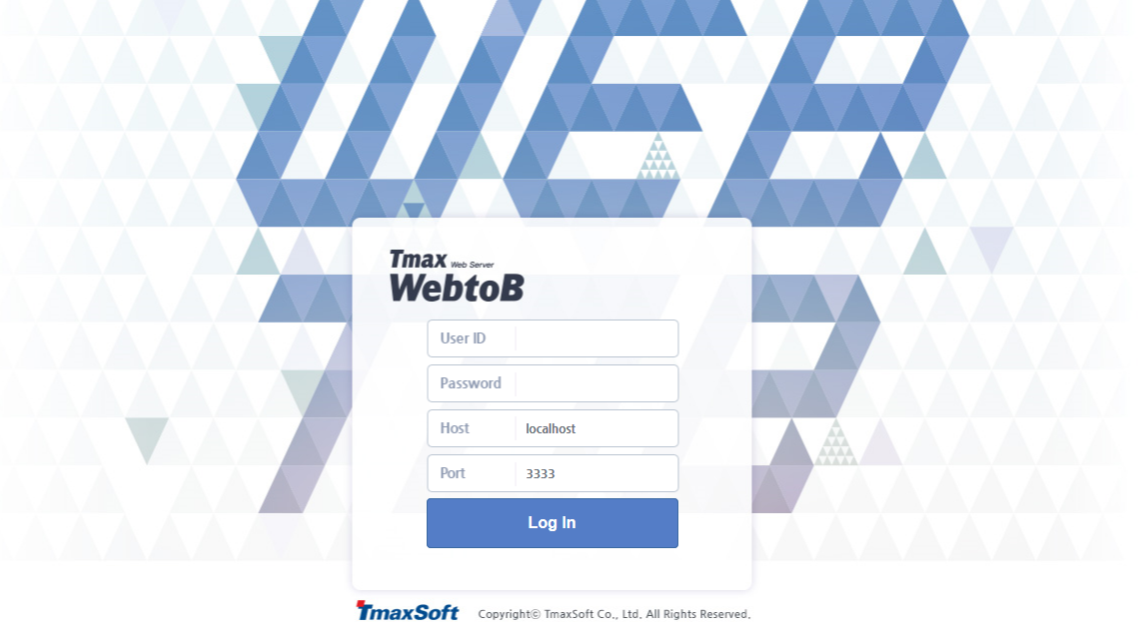
On the login page, enter the administrator ID and password, host, and port and then click [Log In]. Enter the host and port of wsracd. The default port is 3333. If wsracd is not running or wsracd is using a port other than the default port, then login will fail.
-
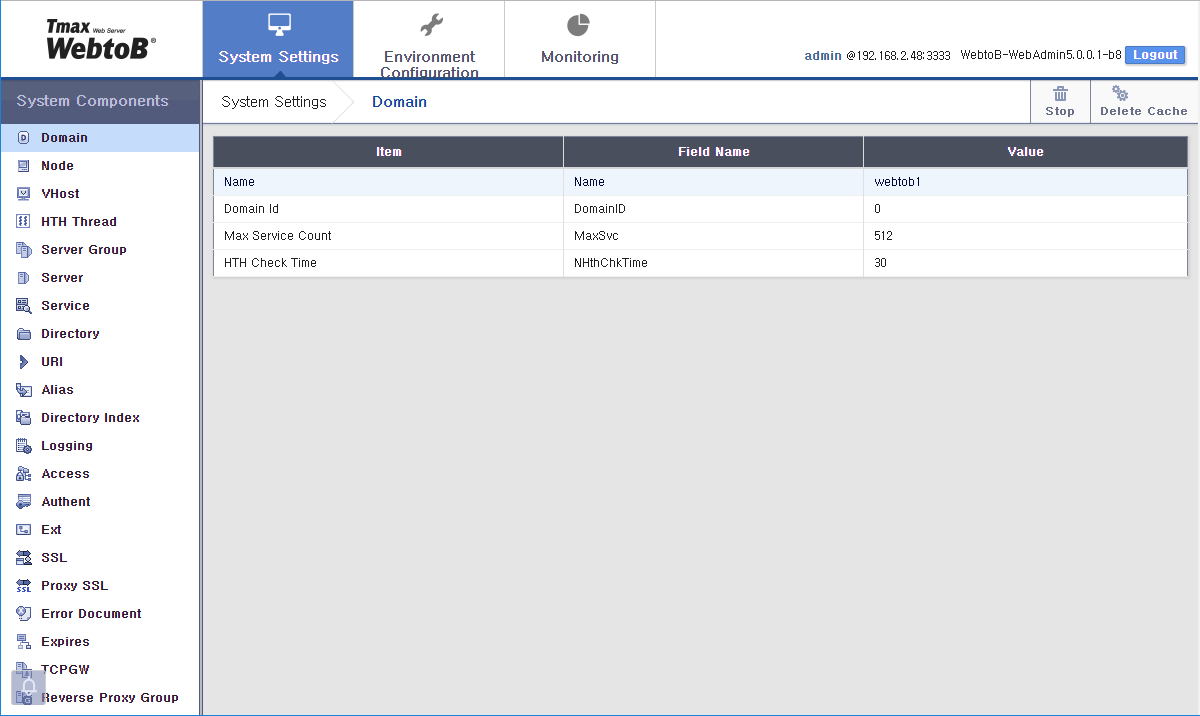
After logging in, the WebAdmin page is displayed.
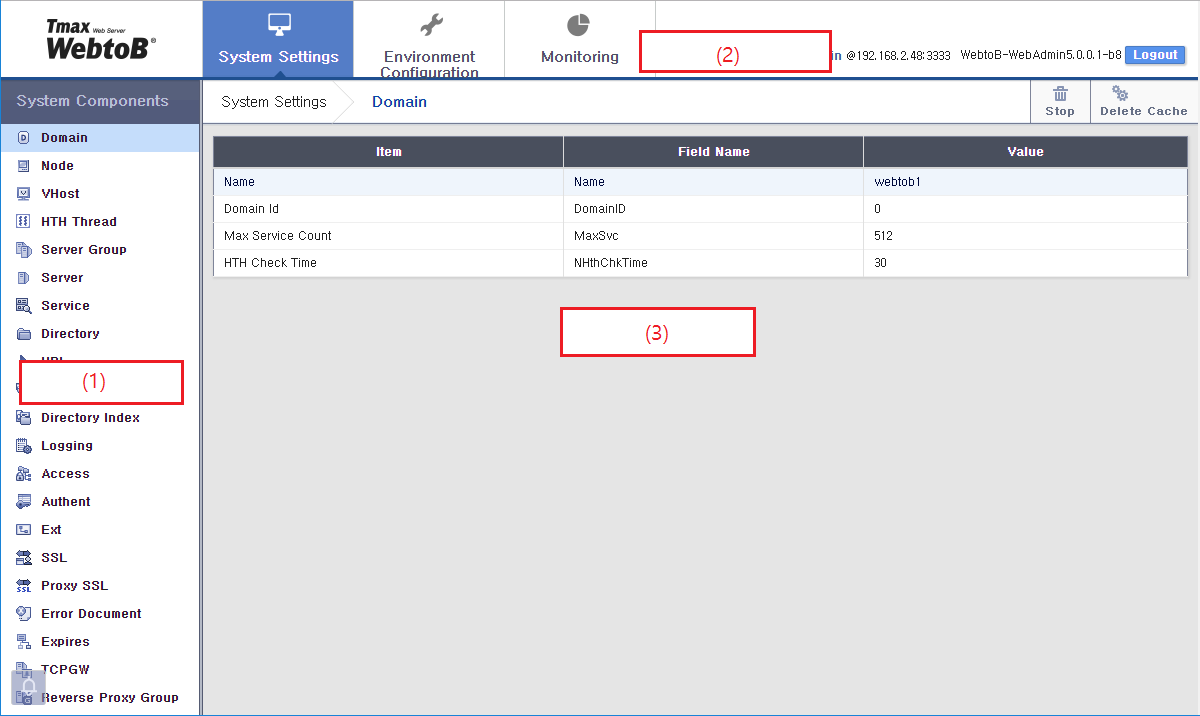
The following is the WebAdmin start page. The page consists of 3 areas.
-
(1) Tree Area
Displays the navigation menu for the selected menu at the top.
-
(2) Configuration Area
Displays information related to the selected menu at the top.
-
(3) Main Area
Displays the page of the selected menu in the navigation tree.


