Table of Contents
This chapter describes how to deploy servlet, JSP, JSTL, and JSF applications, and how to package and deploy WAR (Web application ARchive) modules.
This section shows sample code for a web application and how to compile and deploy the code.
Note
For more information, refer to "JEUS Server Guide", "JEUS Web Engine Guide", "JEUS Web Service Guide".
The following sample servlet displays the message "Hello World!" in a web browser.
[Example 9.1] <<HelloWorldServlet.java>>
import java.io.*;

import javax.servlet.*;
import javax.servlet.http.*;

public class HelloWorldServlet extends HttpServlet
{
   public void doGet(HttpServletRequest req, HttpServletResponse res)
              throws IOException, ServletException
   {
      res.setContentType("text/html");

      PrintWriter out = res.getWriter();
      out.println("<HTML>");
      out.println("<HEAD>");
      out.println("<TITLE>Hello World Sample</TITLE>");
      out.println("</HEAD>");
      out.println("<BODY>");
      out.println("<CENTER><H1>Hello World!</H1></CENTER>");
      out.println("</BODY>");
      out.println("</HTML>");
      out.close();
   }
}
The sample file is in the following directory.
JEUS_HOME/samples/getting_started/helloservlet/src/java
The following sample JSP program named 'snoop.jsp' shows information about the request it receives.
[Example 9.2] <<snoop.jsp>>
<html>

<body bgcolor="white">

<h2> Request Information </h2>
<font size="4">
JSP Request Method: <%= request.getMethod() %>
<br>
Request URI: <%= request.getRequestURI() %>
<br>
Request Protocol: <%= request.getProtocol() %>
<br>
Servlet path: <%= request.getServletPath() %>
<br>
Path info: <%= request.getPathInfo() %>
<br>
Path translated: <%= request.getPathTranslated() %>
<br>
Query string: <%= request.getQueryString() %>
<br>
Content length: <%= request.getContentLength() %>
<br>
Content type: <%= request.getContentType() %>
<br>
Server name: <%= request.getServerName() %>
<br>
Server port: <%= request.getServerPort() %>
<br>
Remote user: <%= request.getRemoteUser() %>
<br>
Remote address: <%= request.getRemoteAddr() %>
<br>
Remote host: <%= request.getRemoteHost() %>
<br>
Authorization scheme: <%= request.getAuthType() %>
<hr>
The browser you are using is <%= request.getHeader("User-Agent") %>
<hr>
</font>
</body>
</html>
This sample file is in the following directory.
JEUS_HOME/samples/getting_started/helloservlet/web
The following sample JSP program has the same functionality as
snoop.jsp except that it uses JSTP and JSF.
[Example 9.3] <<snoop-jstl.jsp>>
<%@ taglib uri="http://java.sun.com/jsp/jstl/core" prefix="c" %>
<%@ taglib uri="http://java.sun.com/jsf/html" prefix="h" %>
<%@ taglib uri="http://java.sun.com/jsf/core" prefix="f" %>
<html>
<body>
<h2> Request Information </h2>
<font size="4">
    <c:set var="req" value="${pageContext.request}"/>
    JSP Request Method: <c:out value="${req.method}"/>
    <br/>
    Request Protocol: <c:out value="${req.protocol}"/>
    <br/>
    Servlet path: <c:out value="${req.servletPath}"/>
    <br/>
    Path info: <c:out value="${req.pathInfo}"/>
    <br/>
    Path translated: <c:out value="${req.pathTranslated}"/>
    <br/>
    Query string: <c:out value="${req.queryString}"/>
    <br/>
    Content length: <c:out value="${req.contentLength}"/>
    <br/>
    Content type: <c:out value="${req.contentType}"/>
    <br/>
    Server name: <c:out value="${req.serverName}"/>
    <br/>
    Server port: <c:out value="${req.serverPort}"/>
    <br/>
    Remote user: <c:out value="${req.remoteUser}"/>
    <br/>
    Remote address: <c:out value="${req.remoteAddr}"/>
    <br/>
    Remote host: <c:out value="${req.remoteHost}"/>
    <br/>
    Authorization scheme: <c:out value="${req.authType}"/>
    <hr/>
    <f:view>
    The browser you are using is <h:outputText value=
    "#{header['User-Agent']}"/>
    </f:view>
    <hr/>
</font>
</body>
</html>
JSP programs are automatically compiled by the servlet engine
and don't need to be compiled manually.
The sample code can be built by using jant as in the following.
%JEUS_HOME%/samples/getting_started/helloservlet>jant build
After the sample code has been built successfully, a WAR file named
'hello-servlet.war' will be created in the dist
folder.
A packaged WAR application can be deployed by using WebAdmin or console.
Deploying WAR Applications in WebAdmin
In JEUS, there are two steps for deploying applications, installation and deployment.
Note
For detailed information about deployment, refer to "JEUS Application & Deployment Guide".
This section describes how to deploy WAR applications.
-
Log in to WebAdmin using a web browser.
-
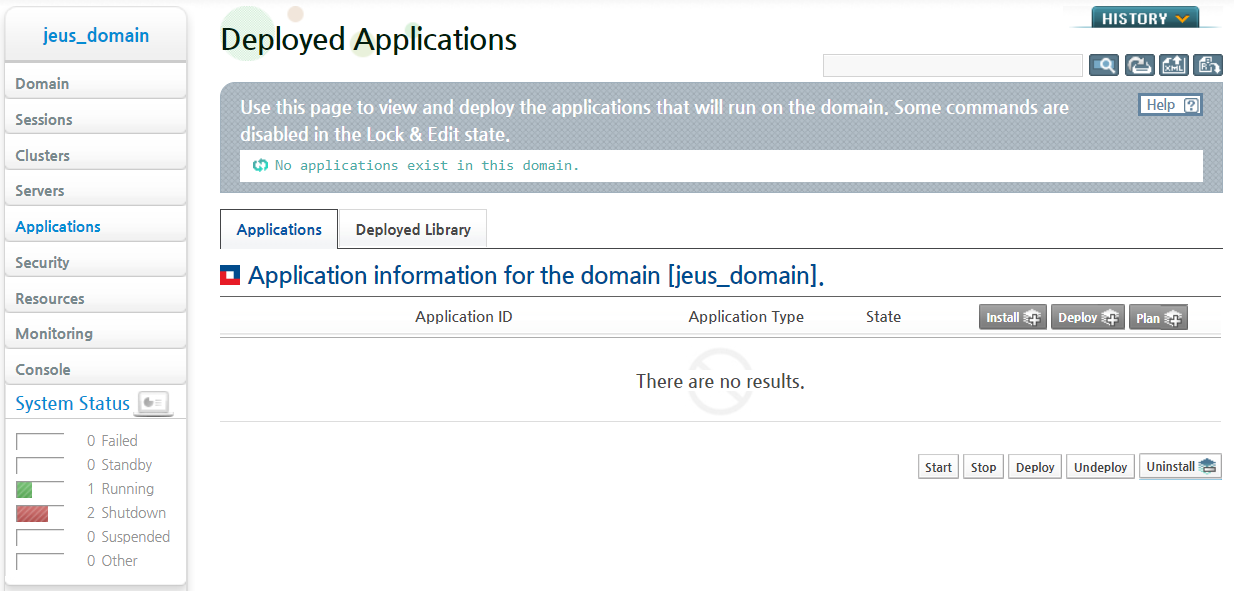
Click [Applications] from the left pane to go to the application list page. Click [install] from the following Deployed Application page.
-
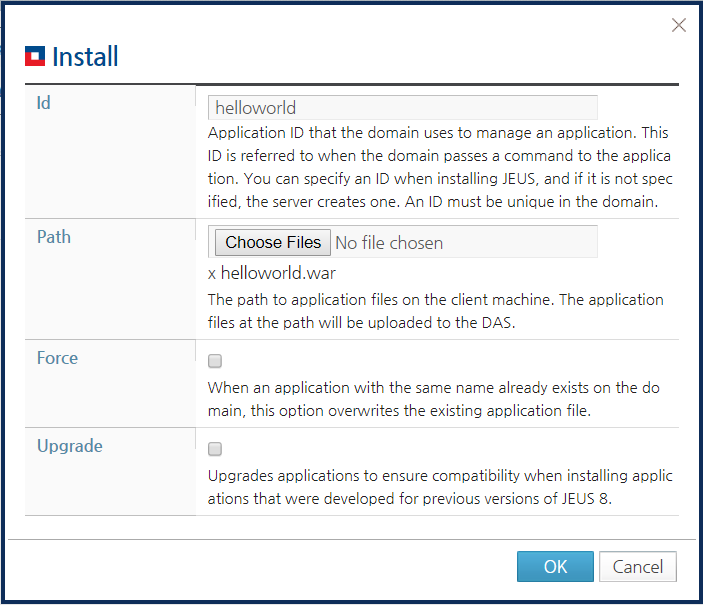
Enter the ID in 'Id' field of the Install page. Click [Choose Files] next to the Path option, select the newly created application, and then click [OK]. The path of the new application is 'JEUS_HOME/samples/getting_started/helloservlet/dis/'.
-
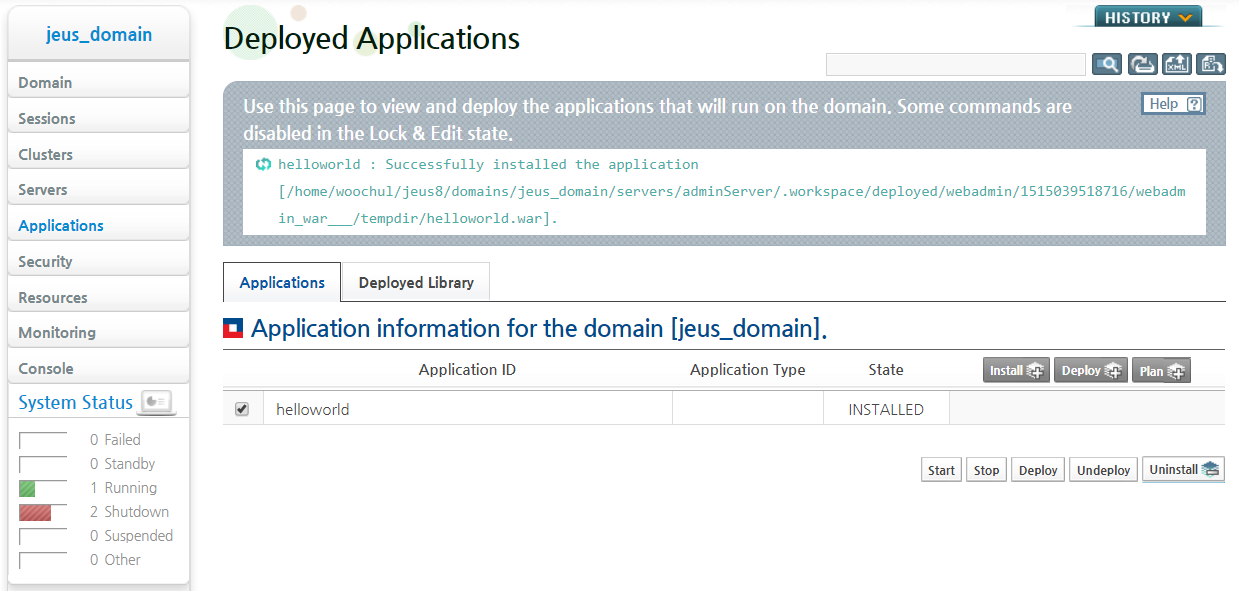
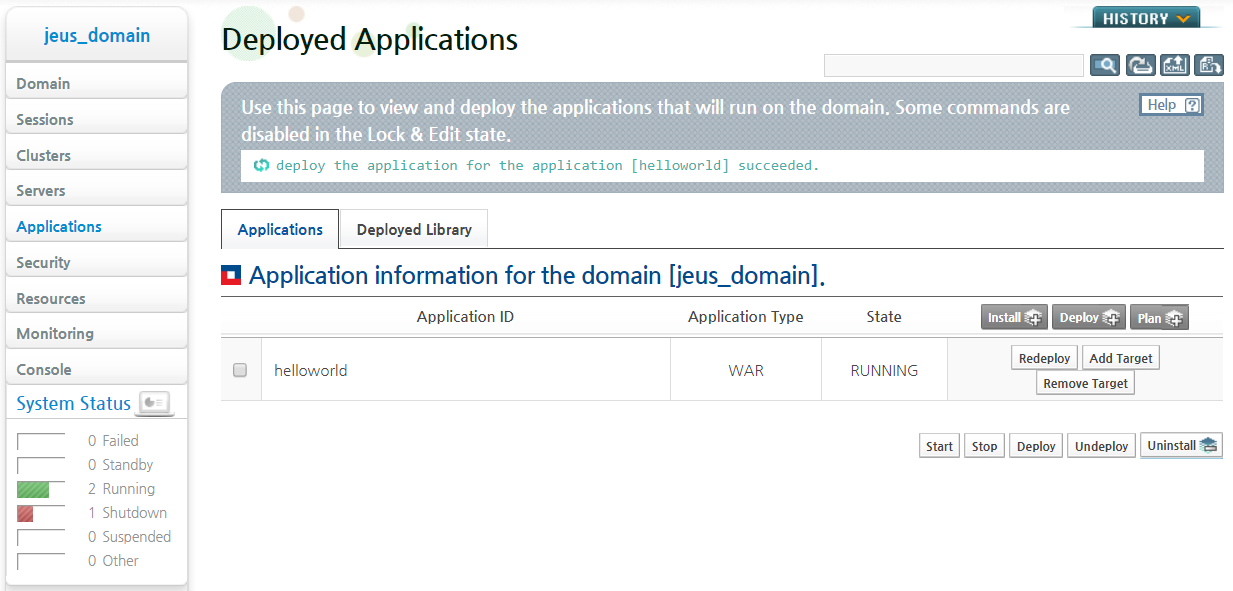
The list of applications deployed on DAS is shown on the Deployed Applications page. Click [Deploy] to deploy the application to an MS.
-
Select the server to deploy and click [OK]. It is possible to select DAS, but an MS is recommended for deployment.
-
The following message is displayed after the web application has been deployed successfully.
Deploying a WAR Application in the Console
This section describes how to deploy and test a WAR application in the console.
-
Log in to JEUS as jeusadmin.
jeusadmin –u administrator –p <password> -
Install the application on DAS.
[DAS]jeus_domain.adminServer>install-application -id helloworld C:\TmaxSoft\JEUS8\samples\getting_started\helloservlet\dist\hello-servlet.war
Successfully installed application[helloworld].
-
Deploy the application to an MS (Server1).
[DAS]jeus_domain.adminServer>deploy helloworld -servers server1
Succeeded to deploy the application : helloworld
-
Verify that the application has been deployed successfully.
This section describes how to execute the deployed servlets and JSPs.
Executing a Deployed JSP
Deployed JSPs can be executed by:
-
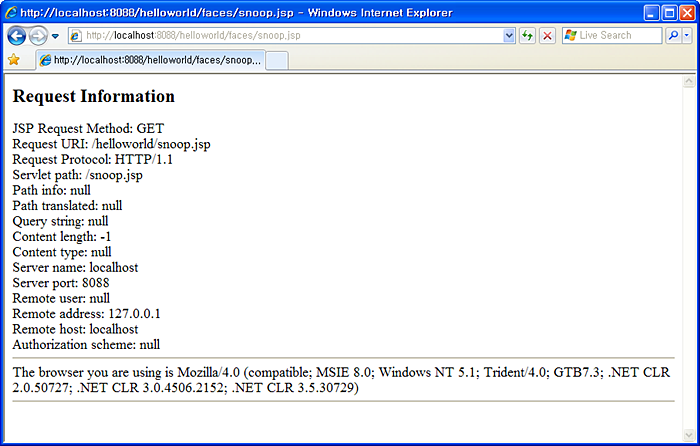
Opening snoop.jsp
Open a browser window and enter the following URL into the address bar to open the 'snoop.jsp' page. Opening a JSP page for the first time takes a little longer because it is automatically compiled by the servlet engine.
-
http://localhost:8088/helloworld/faces/snoop.jsp
-
Opening snoop.jsp
Open a browser window and enter the following URL into the address bar to open the 'snoop.jsp' page. Opening a JSP page for the first time takes a little longer because it is automatically compiled by the servlet engine.
http://localhost:8088/helloworld/snoop-jstl.jsf
Executing a Deployed Servlet
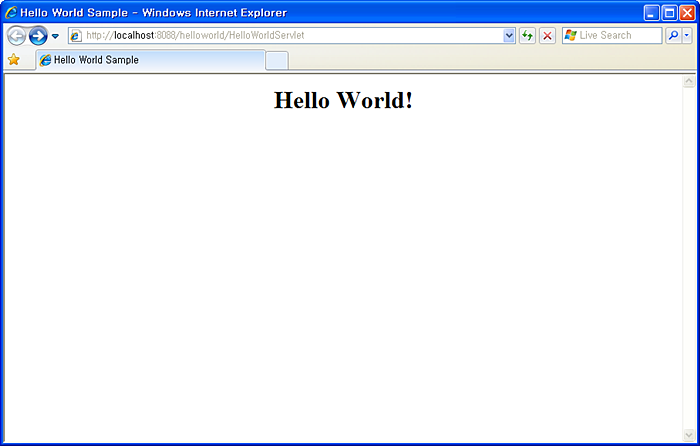
To access the 'helloworld' servlet, open a browser window and enter the following URL into the address bar.
http://localhost:8088/helloworld/HelloWorldServlet
| Item | Description |
|---|---|
| http | HTTP protocol is used to access JEUS. |
| localhost | Server that provides the service is on the local machine. |
| 8088 | Port number of the HTTP listener created on the MS. |
| helloworld | Web application context path. This path is set in the <context-path> element of 'jeus-web-dd.xml'. By default, it has the same name as the WAR file. |
| HelloWorldServlet | URL pattern defined in the servlet. |
The following message will appear if the servlet engine has started normally and the Hello World servlet has been deployed successfully.