Table of Contents
This chapter describes tasks for PDS configuration such as registering, editing, and deleting PDS.
This menu allows you to upload physical asset files to be included in PDS. You can select asset files or folders from your local system (Windows environment, etc.) to transfer them to the OpenFrame Analyzer server.
-
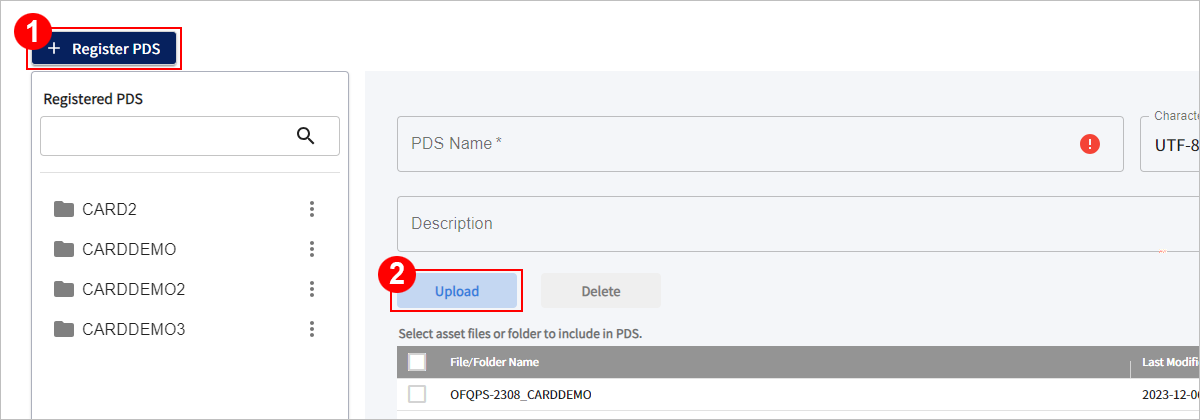
On the Asset main page, click the [+ Register PDS] button and then click the [Upload] button in the PDS registration section.
-
When the Upload PDS dialog box opens, enter the delimiter for the asset to be uploaded. If the asset type is a 'file', click the [Select File] button; if it is a 'folder', click the [Select Folder] button.
Afterward, select the asset to upload from the file explorer and click the [Upload] button in the Upload PDS dialog box.

Note
You can choose one or more files, but only one folder at a time. Files and a folder can be selected simultaneously.
The assets to be uploaded must be fit one of the following types.
Asset Classification File/Folder Detailed Configuration .dat asset
File
-
.dat single file (example: PdsExample.dat)
-
An asset file with a sub-assets. The extension must be '.dat'.
Individual member asset
File
-
Member asset single file (example: AB001, AB002.cob)
-
The extension is optional.
Set of classified individual member assets
Folder
-
The name of the top-level directory can be arbitrary.
-
The first subdirectory name must be specified as the asset classification type. (example: COBOL, JCL, DBD, BMS, etc.)
-
All files under the first subdirectory are classified as that type.
Set of unclassified individual member assets
Folder
A folder with any form of directory structure except for the set of the classified individual member assets.
-
-
The uploaded assets are transferred to the OpenFrame Analyzer server and applied to the table in the PDS registration information section. If you want to delete an uploaded asset, select the checkbox next to the asset in the table and click the [Delete] button.
You can upload a new PDS. The registration is only allowed when there are uploaded assets.
Note
If the selected asset file is invalid, it cannot be registered.
The following file extensions and characters are excluded in registration (case-insensitive).
-
Excluded file extensions
".appl", ".bat", ".bmp", ".cer", ".cfg", ".cpp", ".csv", ".def", ".doc", ".docx", ".html", ".ini", ".jpeg", ".jpg", ".json", ".lib" ".LST", ".mak", ".mdb", ".PAR", ".pdf", ".project", ".properties", ".sh", ".sql", ".stderr", ".sw", ".tar", ".txt", ".wsdl", ".xls", ".xlsx", ".xml", ".zip"
-
Characters not allowed at the end of file names
"~"
-
Characters not allowed in file names
"4913", "Entries", "Repository", "Root"
-
Upload assets. For more information about how to upload assets, refer to "2.1. Uploading Assets".
-
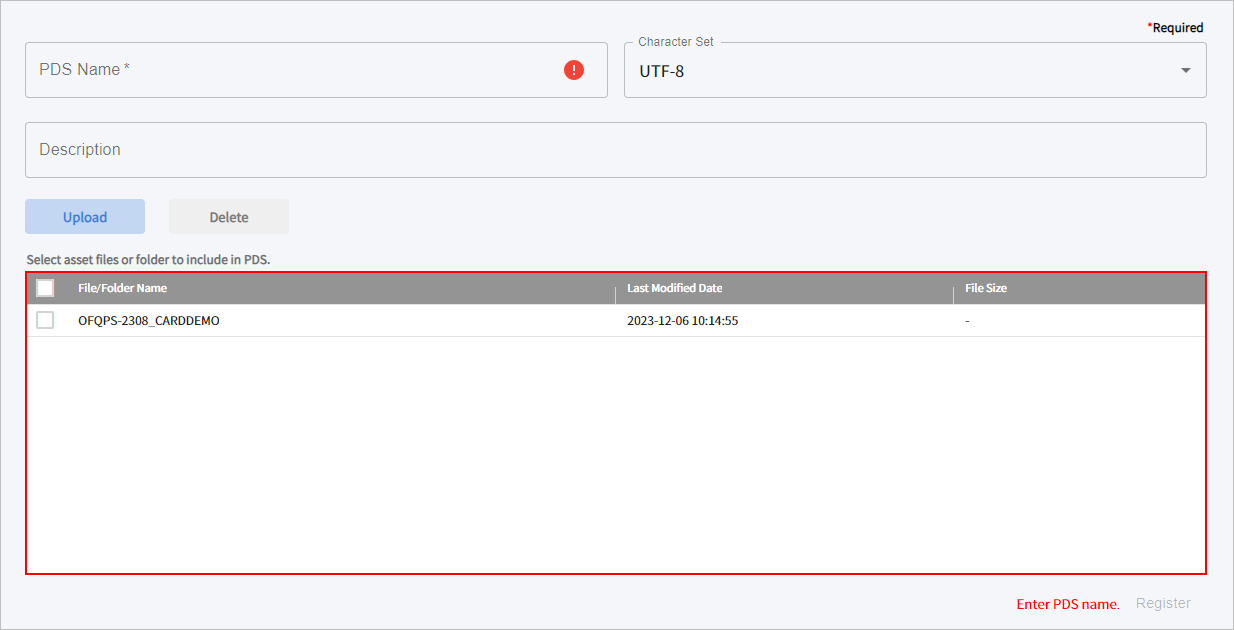
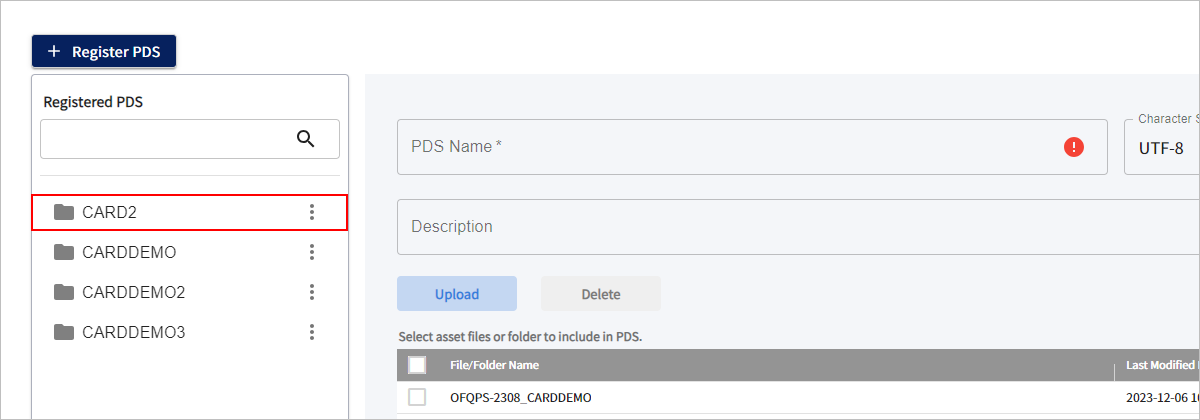
In the PDS registration information section, set the basic information for the PDS to be registered.
The following describes each item.
Item Description PDS Name
Enter the PDS name. (Required)
Character Set
Select the character encoding method. (Default: UTF-8)
Description
Enter the brief description of the PDS.
Select asset files or folder to include in PDS.
Select assets to include in PDS. (Required)
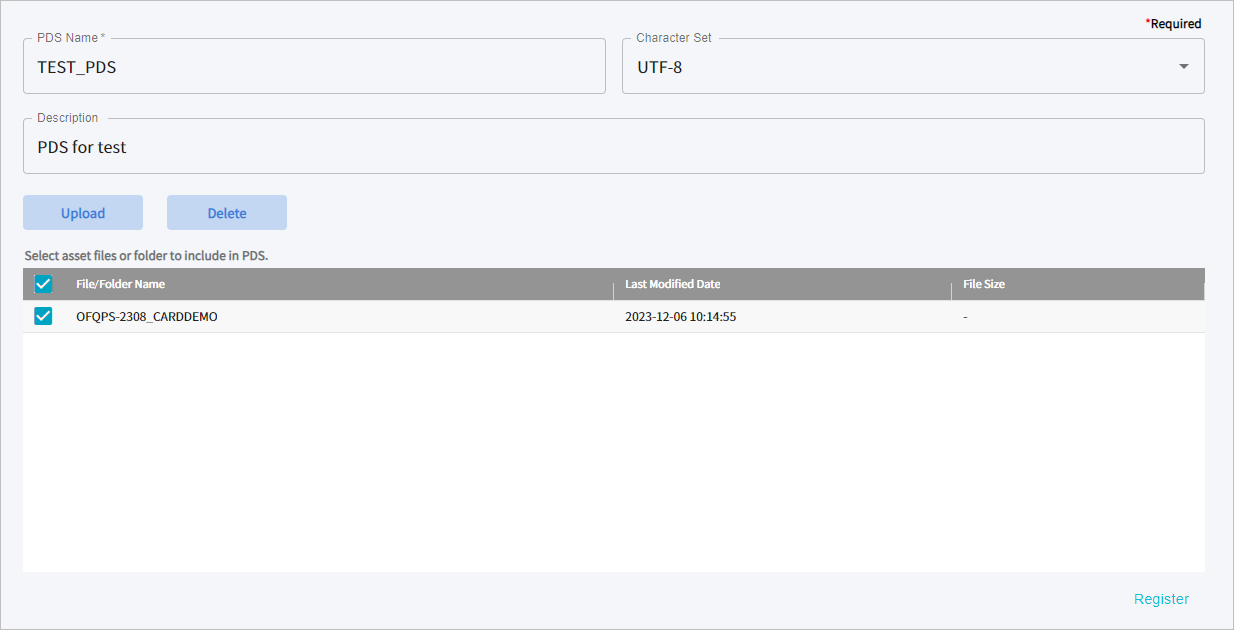
In this case, multiple asset files or folders can be selected. If there are duplicate member assets among the selected ones, such as assets with the same name, only one can be registered.
-
After completing the basic information setting, click the [Register] button to preprocess the specified assets according to their specified types and register the PDS.
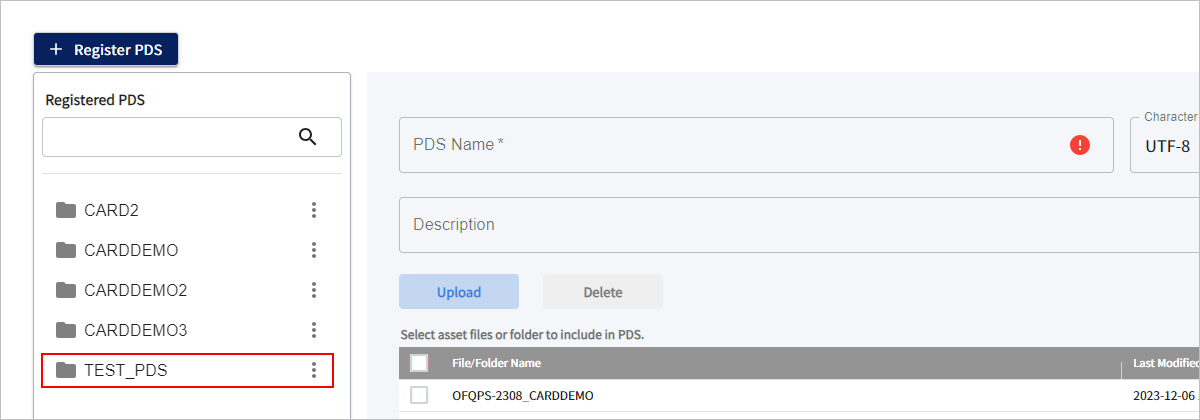
If the PDS is successfully registered, it will be displayed in the PDS list of the Asset main page. The list is displayed in the order in which it was registered.
You can modify the information of the registered PDS.
-
In the PDS list in the left pane on the Asset main page, click the
 ([Additional Options]) button on the right of the PDS name to edit the PDS.
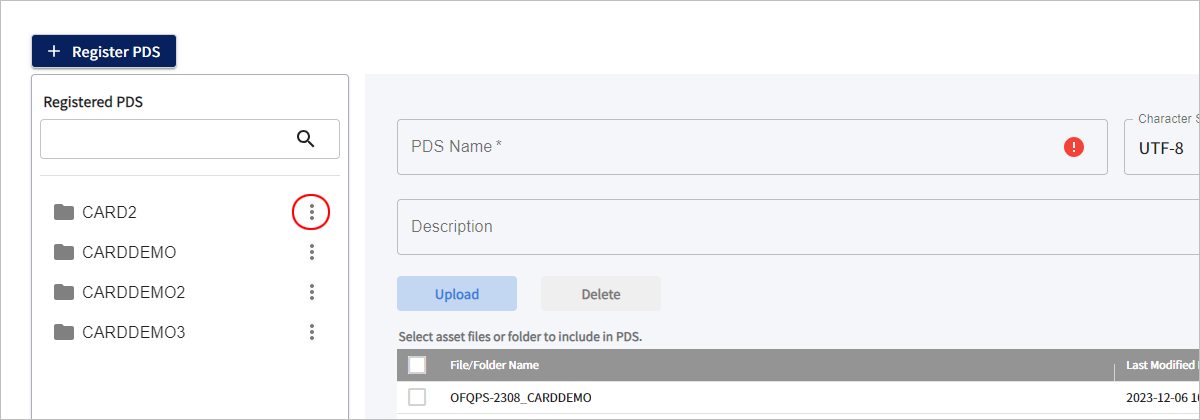
-
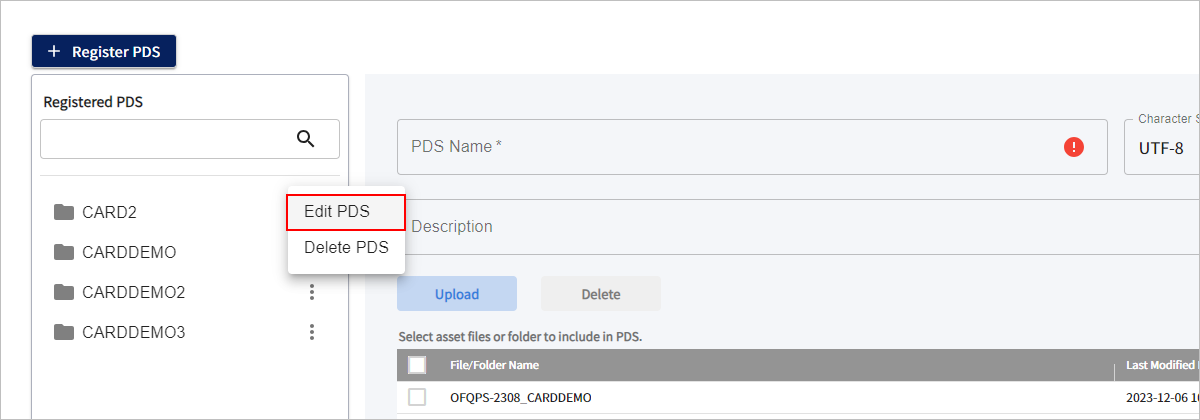
When the dropdown list opens, select the [Edit PDS] menu.
-
When a Edit PDS dialog box opens, change the value of the item you want to modify.
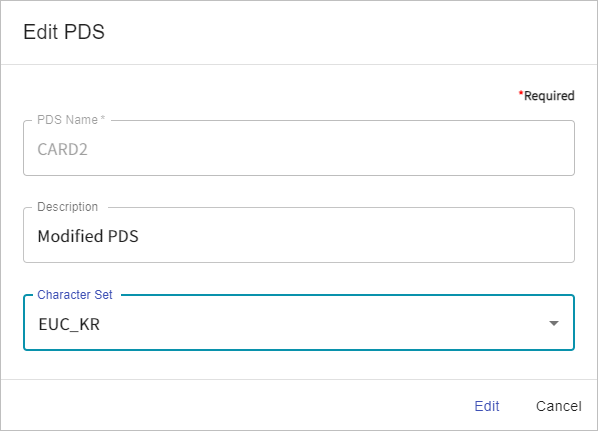
The following describes editable items.
Item Description Description
Enter a brief description on PDS.
Character Set
Select a character encoding method.
-
After completing the edit, click the [Edit] button to save the current settings.
You can delete the registered PDS.
-
In the PDS list in the left pane on the Asset main page, click the
([Additional Options]) button on the right of the PDS name to delete the PDS. -
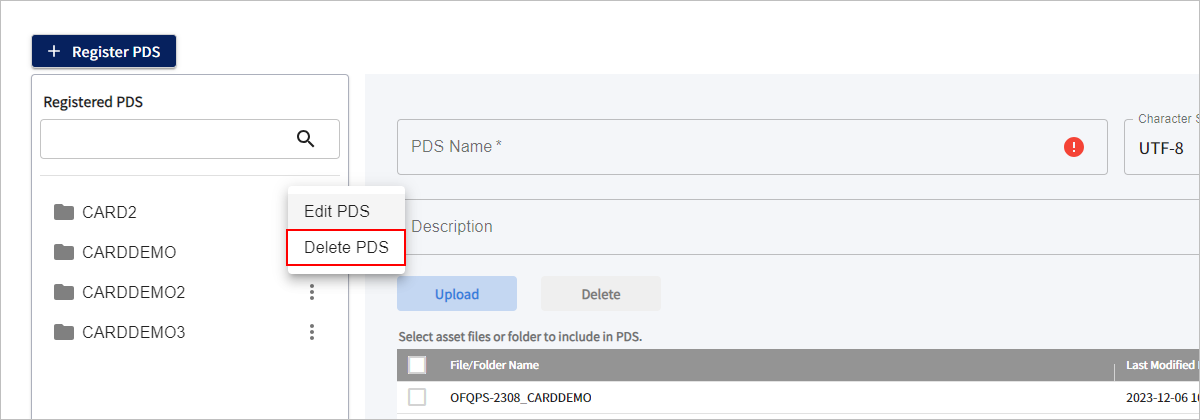
When the dropdown list opens, select the [Delete PDS] menu.
-
When a Delete PDS dialog box opens, enter the same characters as the PDS name to be deleted and then click the [Delete] button. At this time, the selected PDS and all physical asset files within the path (separate from the uploaded asset path) will be deleted.
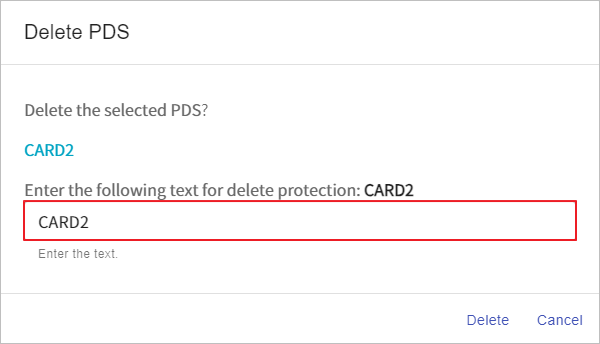
Note
Even if the PDS is deleted, the projects using that PDS will not be deleted.
In the PDS detailed mode, you can view the asset composition status within the PDS and specify or change the asset classification type.
If you click the name of the PDS you want to view in the left pane on the Asset main page, the detailed mode screen for that PDS opens.
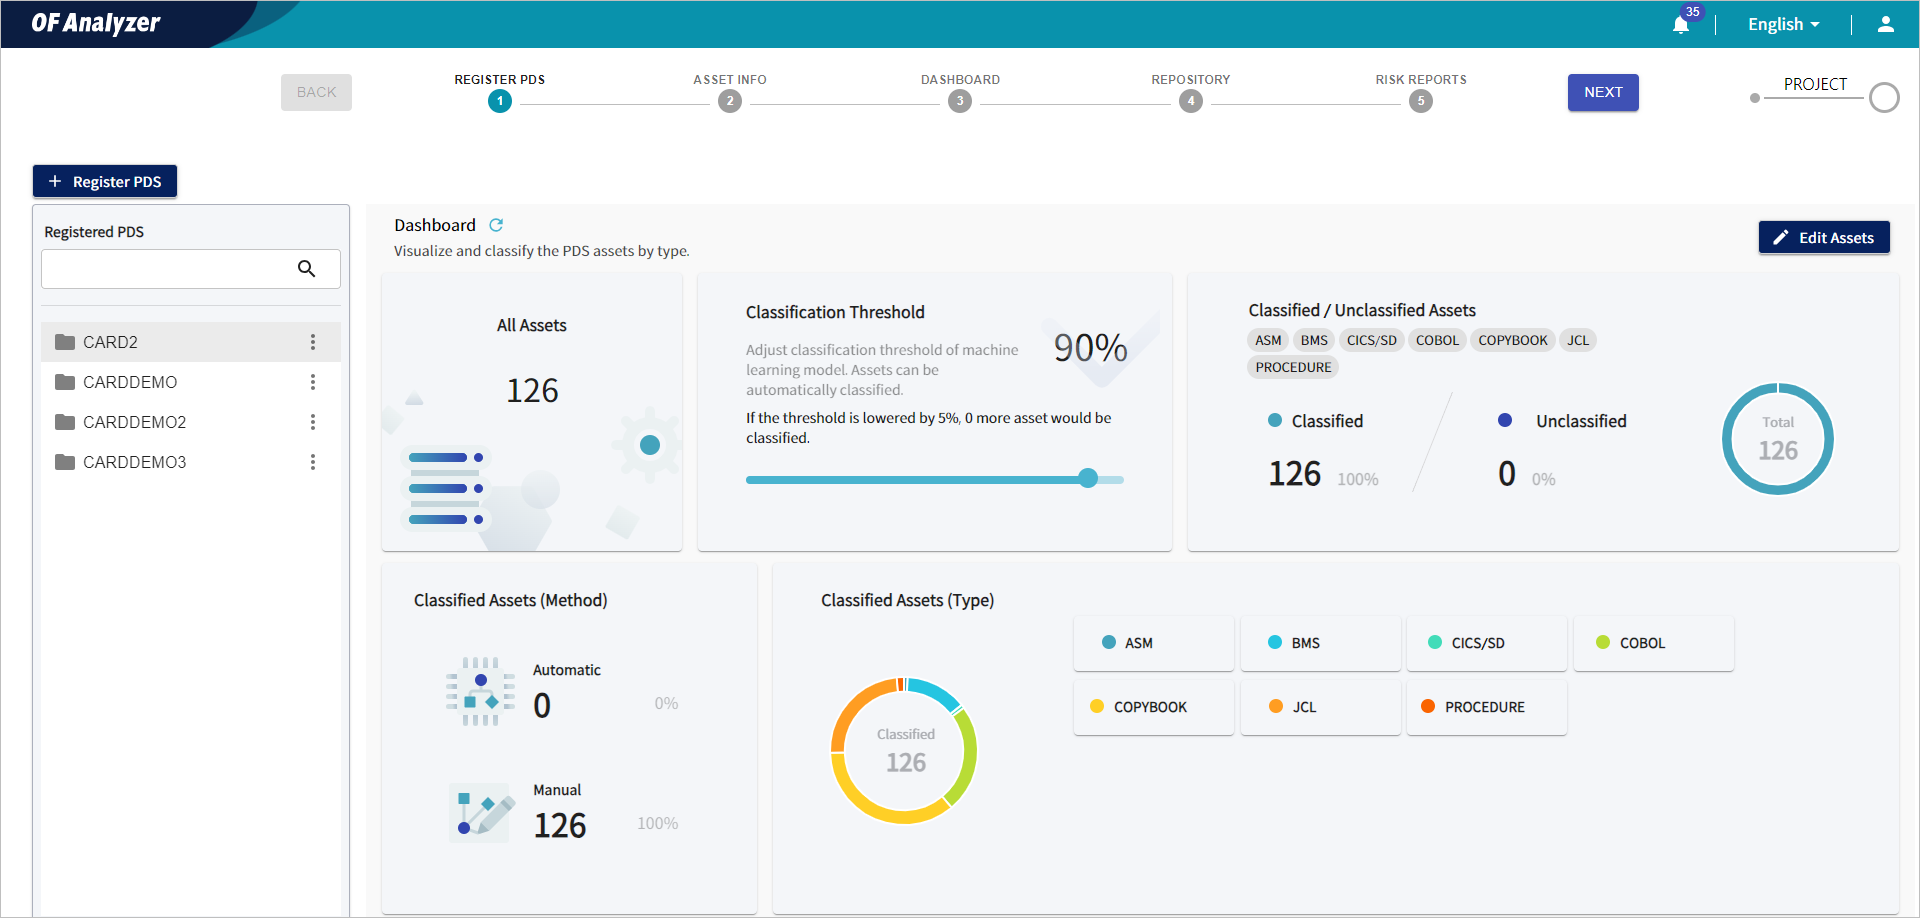
You can go to the desired menu by clicking [BACK] or [NEXT] button in the menus at the top.

The following describes each menu provided in PDS detailed mode.
| Menu | Description |
|---|---|
Register PDS | Allows you to register new PDS and view the asset composition status of the registered PDS. For detailed instructions on PDS registration, refer to "2.2. Registering PDS". |
Provides detailed information of assets included in the PDS, and specifies or changes the asset classification type. | |
Displays the asset composition status within the PDS and stores assets by classification type. | |
Analyzes assets within the PDS and checks the analysis status and results. | |
Displays issues that may arise in asset migration through asset analysis. |